
Active Solar Water Heater SystemsCorrugated Stainless Steel Tubing GuideDuda Diesel LLC carries flexible stainless steel tubing for propylene glycol loops on solar water heater installations which may also be used for other applications such as gas lines and other fluid loops. How to install fittings onto corrugated stainless steel fittingsA special tool is required to flatten the corrugations on the end of the tubing. There are a few different types of tools available. There is an economical tool which can be used for flattening the corrugations by striking it with a hammer. There is also more expensive tools or toolboxes which are capable of performing the flattening by hand and they can also do multiple sizes of piping installs. We recommend the economical tool for anyone installing fittings to a single size of tubing who will not be doing many fitting installs, and the professional kit for multiple tube sizings or when many fitting installations are to be performed. Please note: Take special care when cutting the stainless tubing. The tubing should be cut as clean as possible with no burs left on the edges or it could make it difficult to make a good seal with the fitting. Step 1: Slide the fitting over the tubing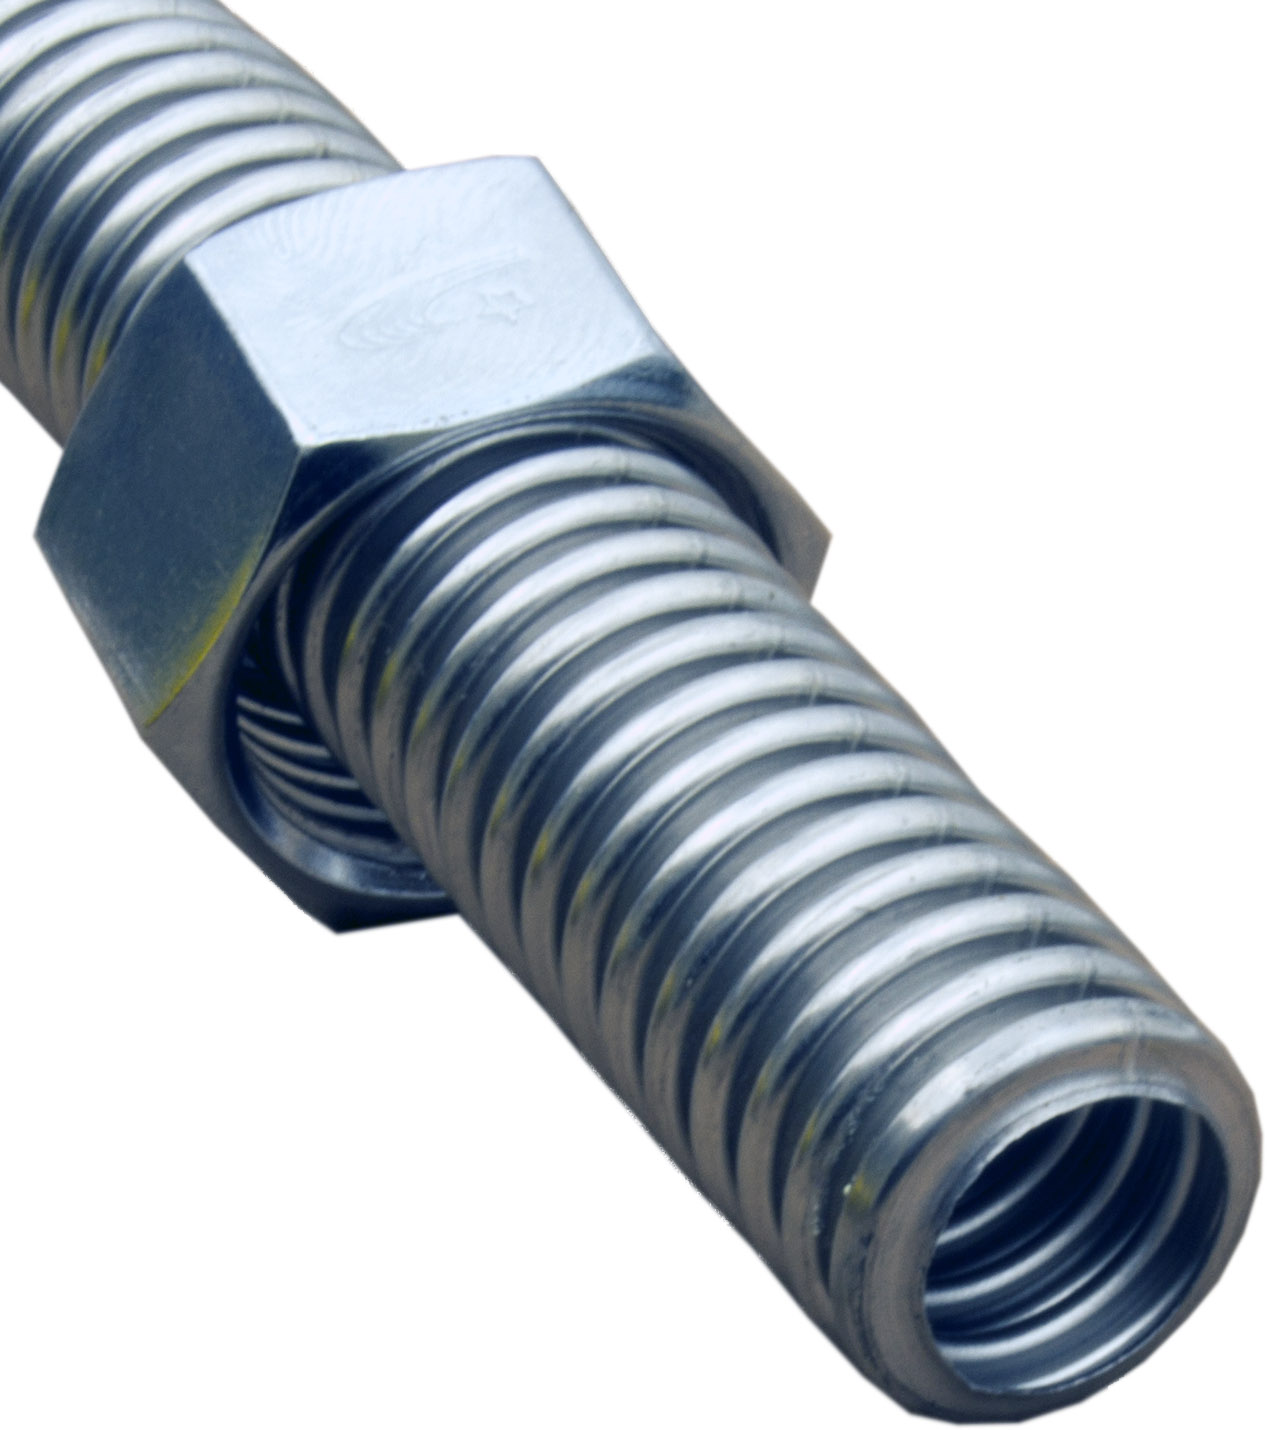
Slide the fitting you will use over the end of the tubing with the threads facing the end of the fitting. Leave enough room so you can clamp the tubing. Step 2: Flatten the corrugations using the special fitting tool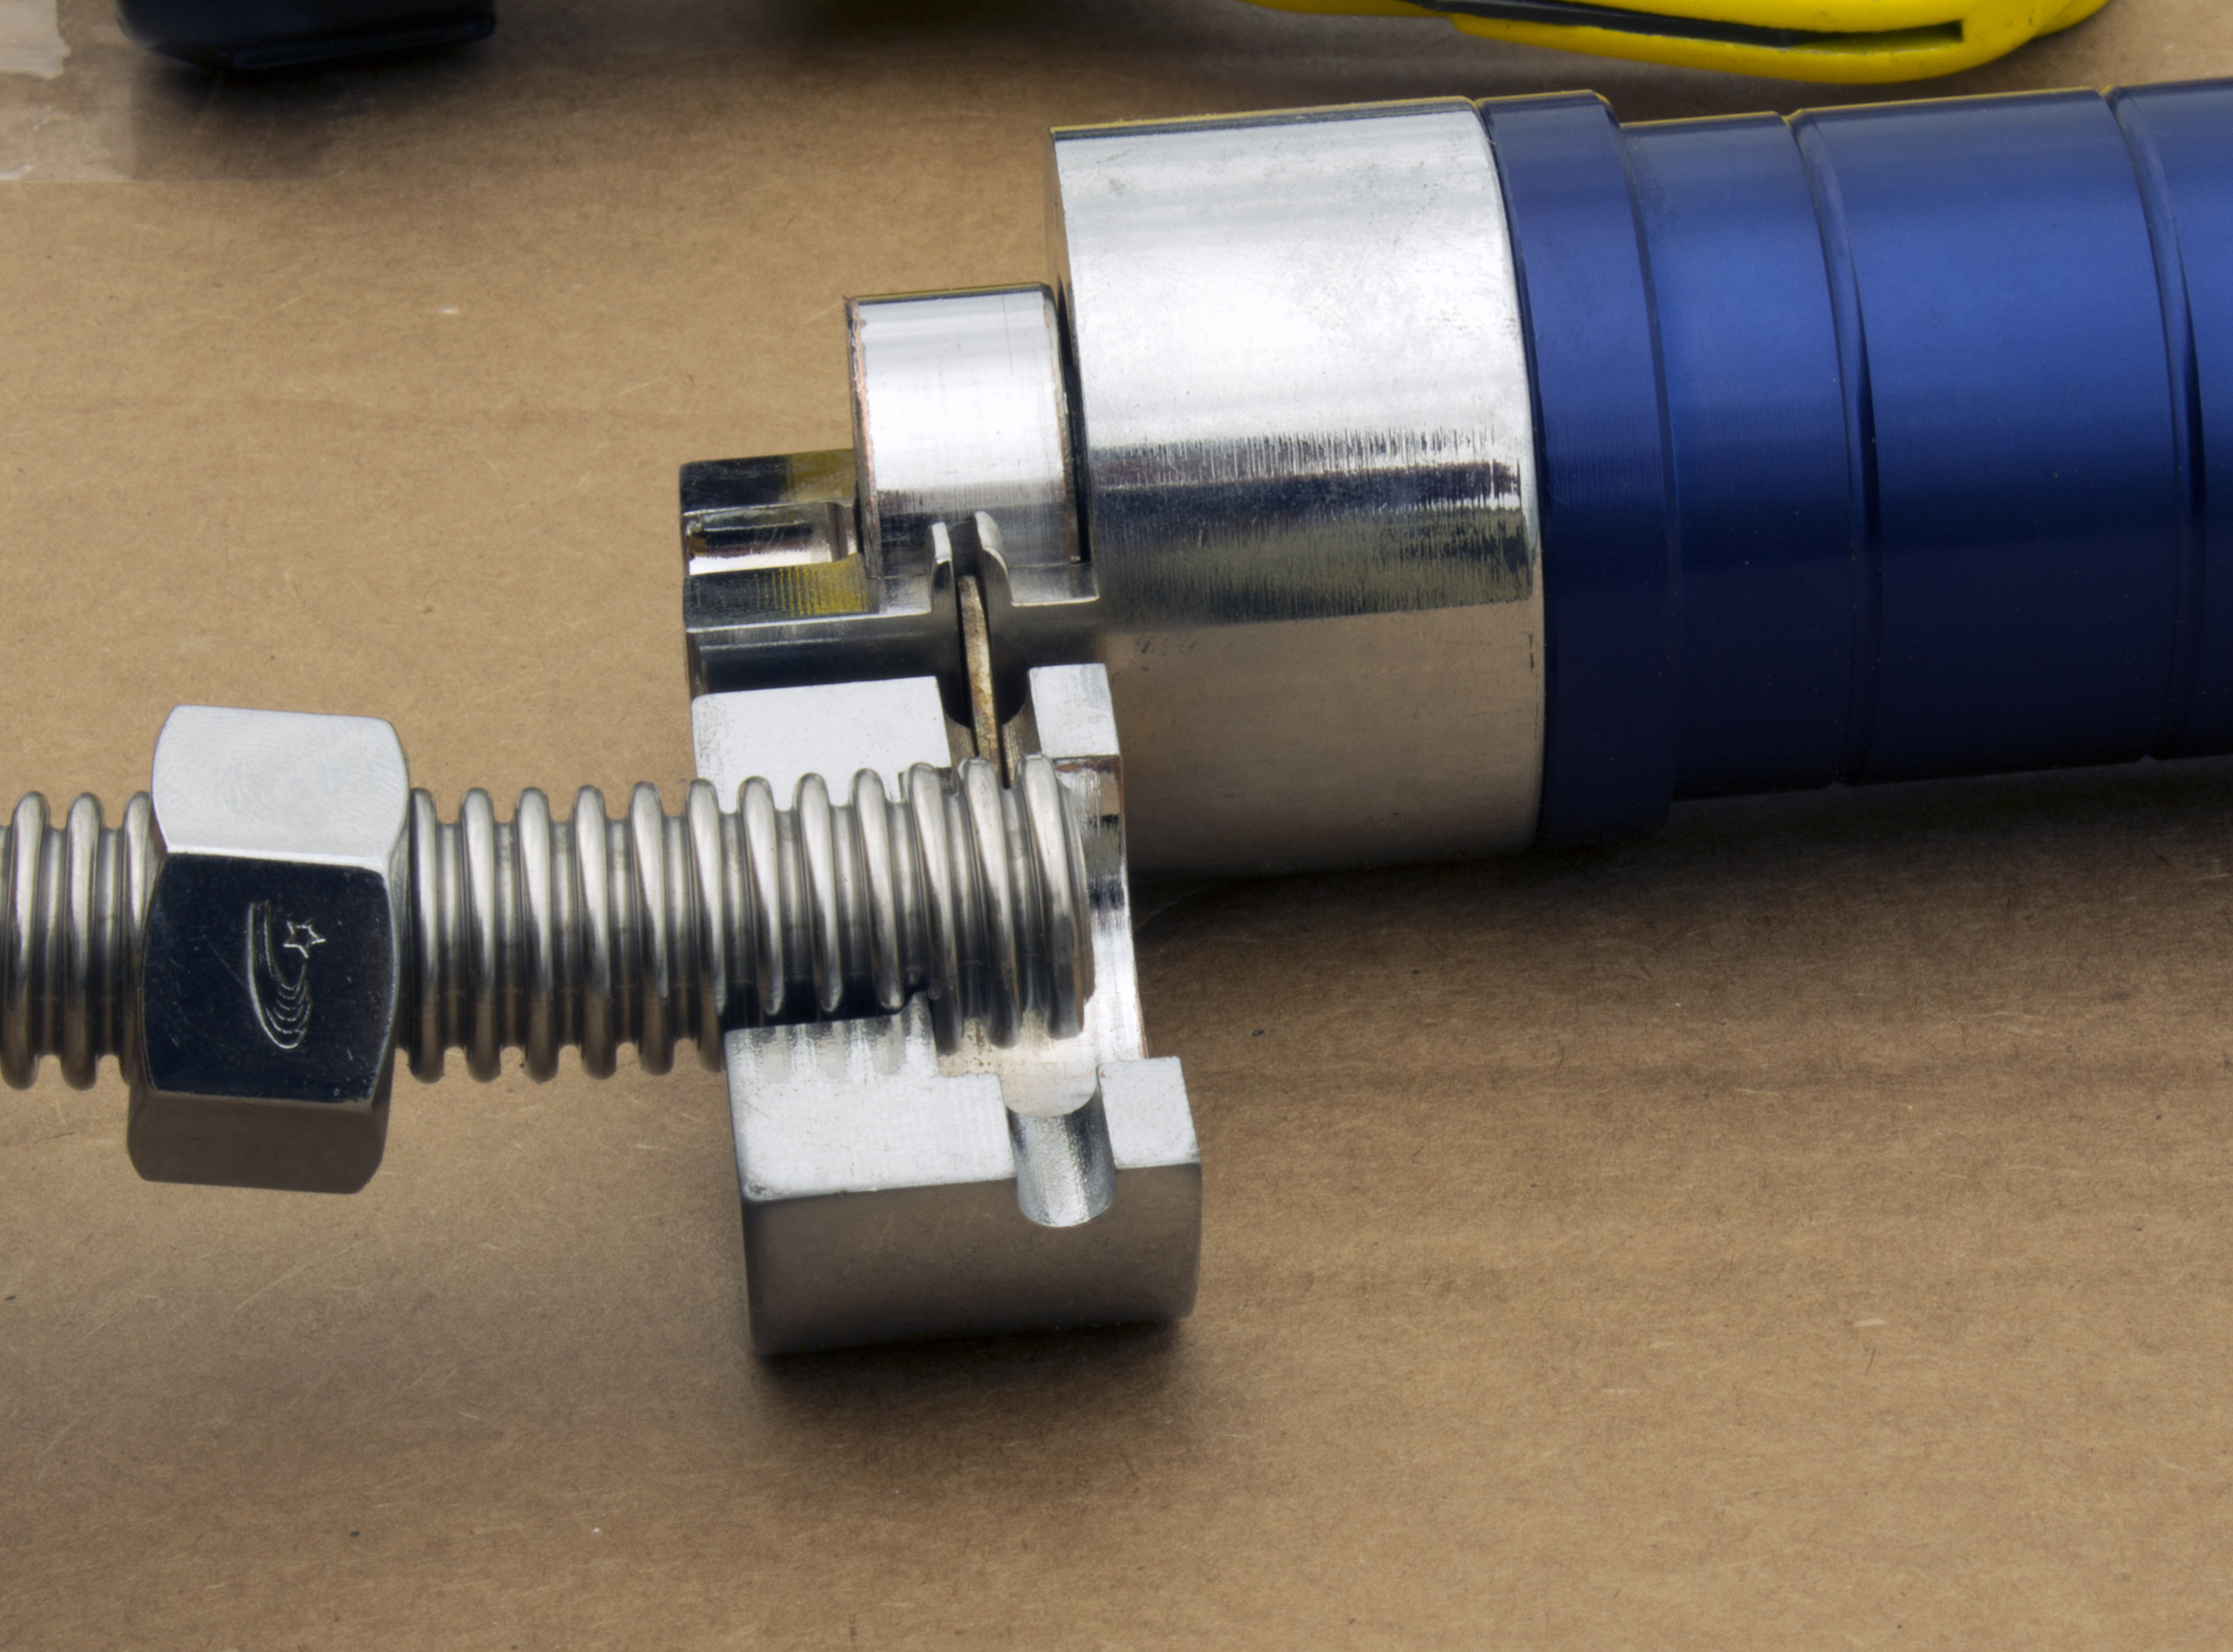
Place the tubing into the clamp which holds the tubing in place in the special tool for flattening the corrugations. We recommend clamping down on 2-3 corrugations. You can clamp one corrugation, but if there is an error in the flattening, there's a chance of leakage, and the durability will be lower. We usually use 2 corrugations as it seems to be enough for most applications. In the photo, the professional tool is shown with only 1 corrugation setting into place for clamping. Once the tubing is in place, use the tool to flatten the corrugations. 2-3 hits may be necessary to make it perfectly flat. Step 3: Apply the c-ring to the tubing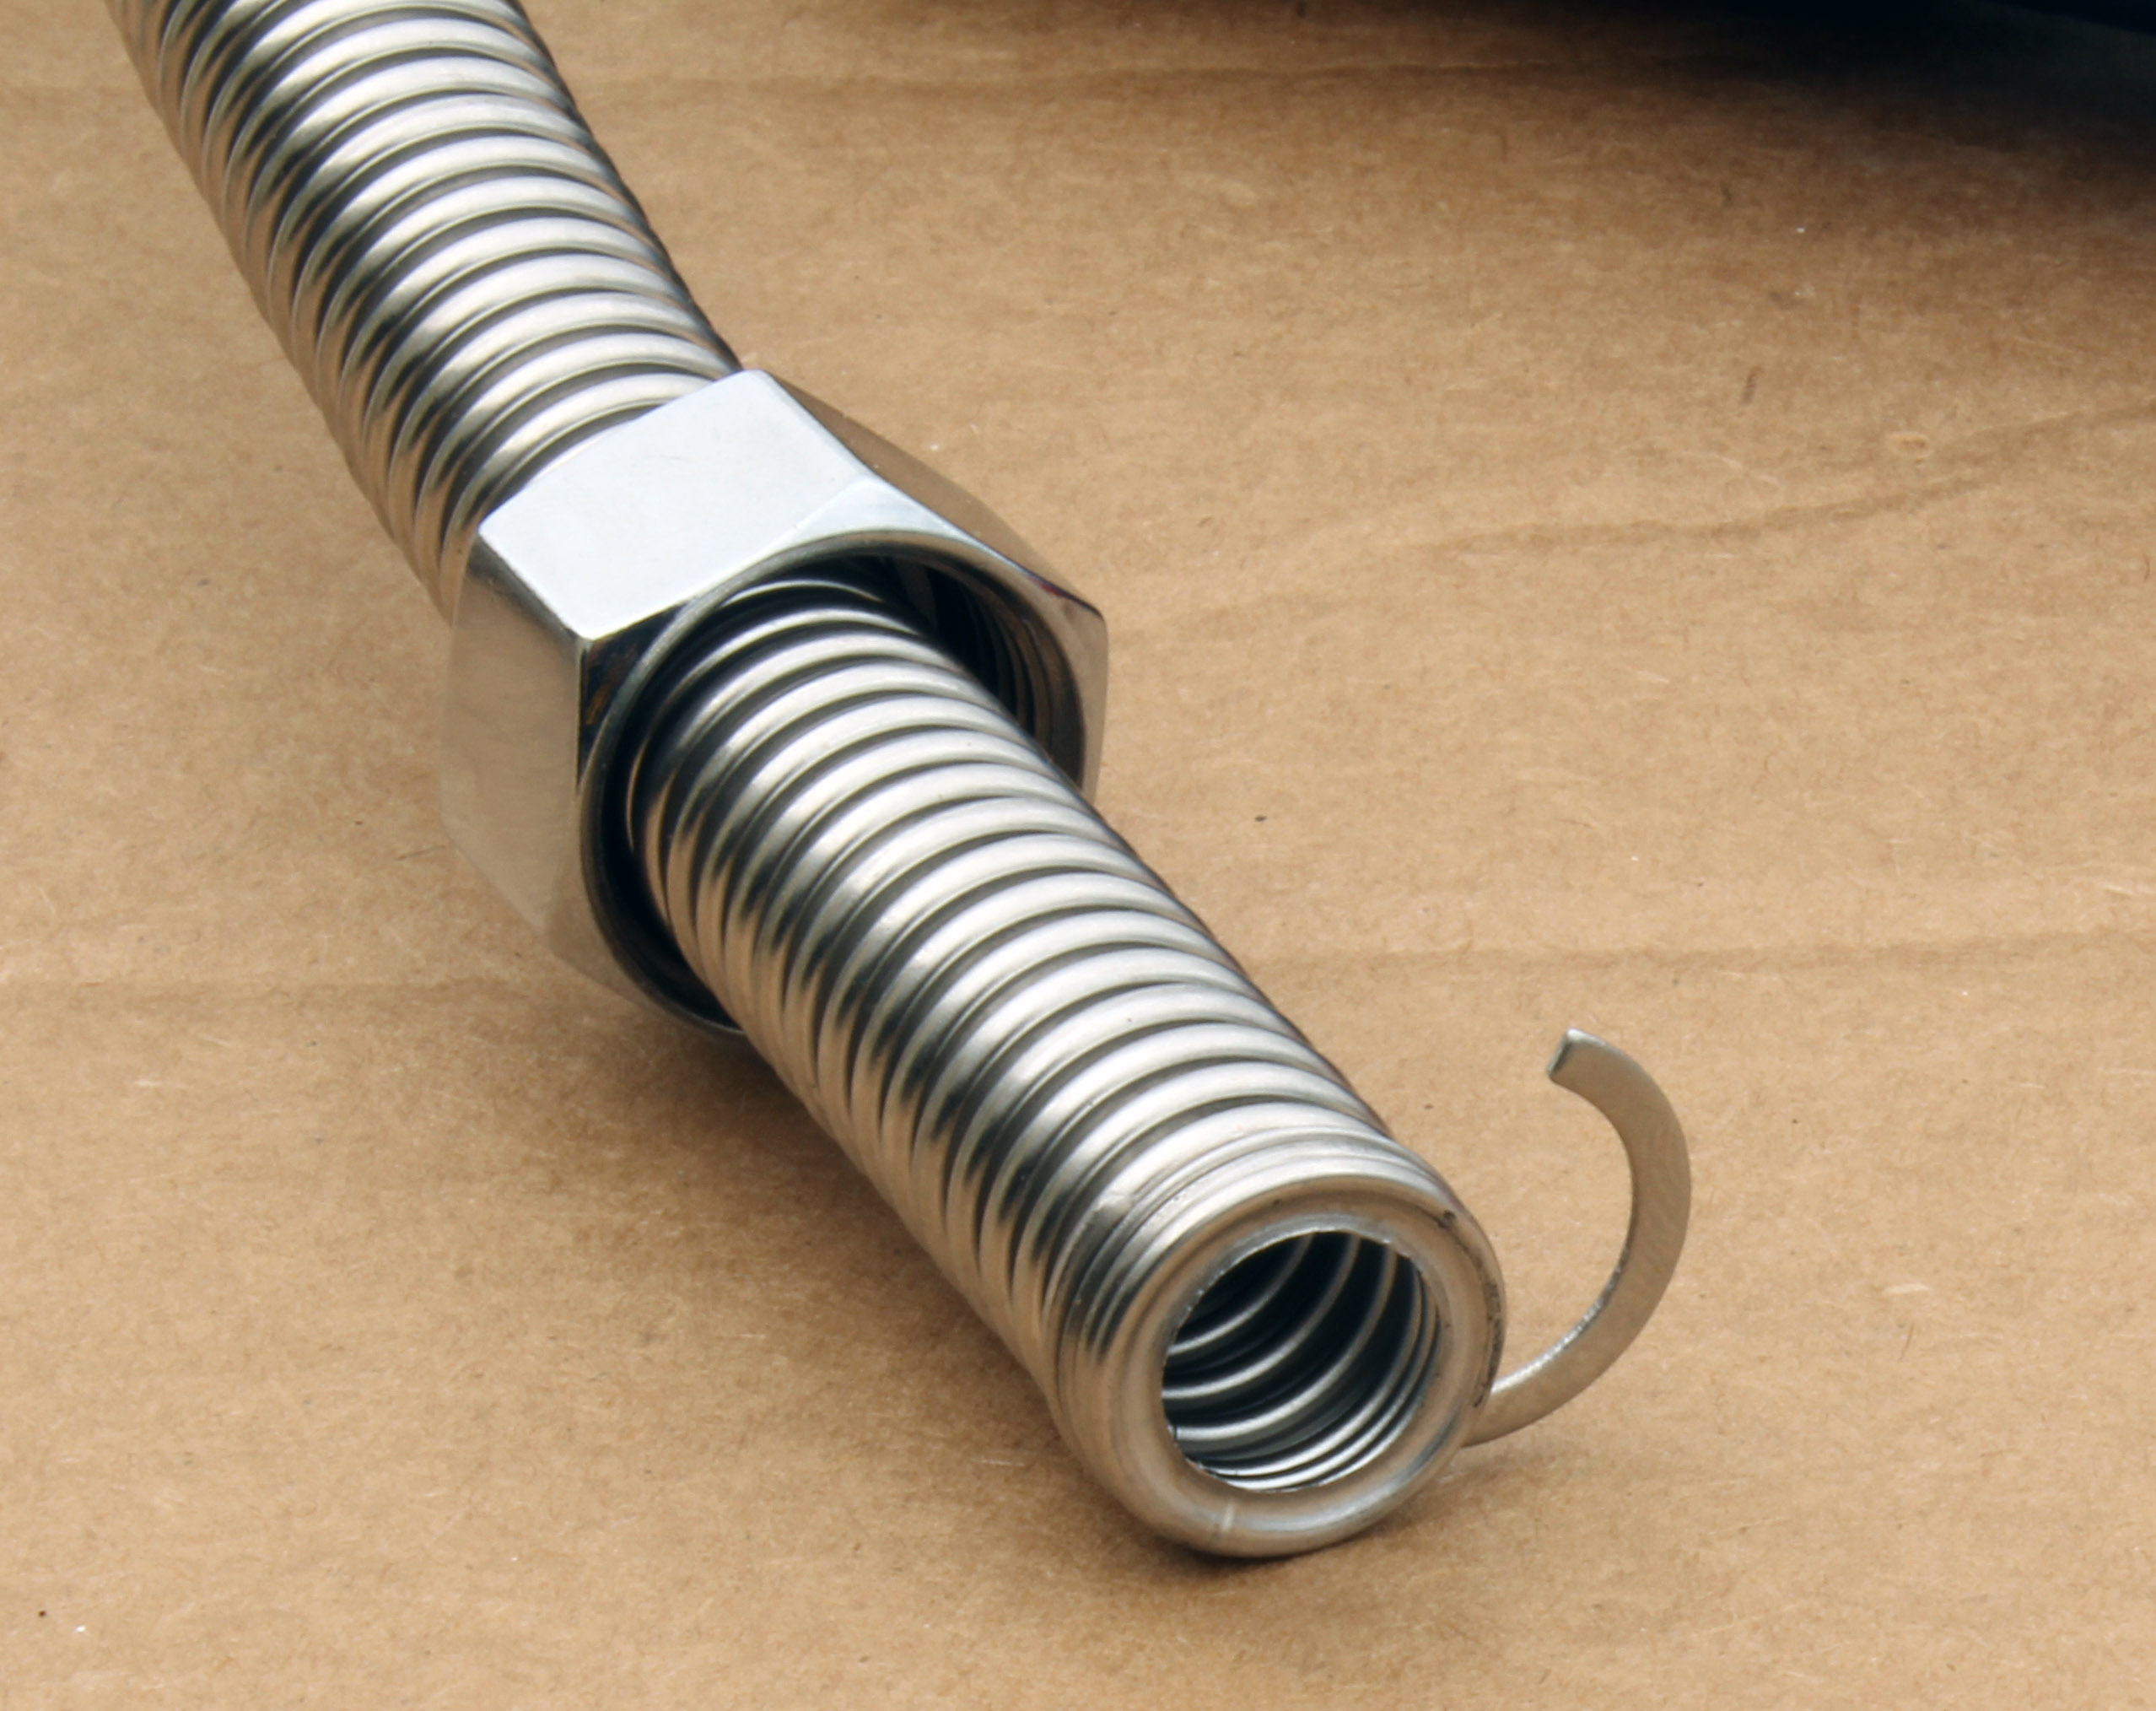 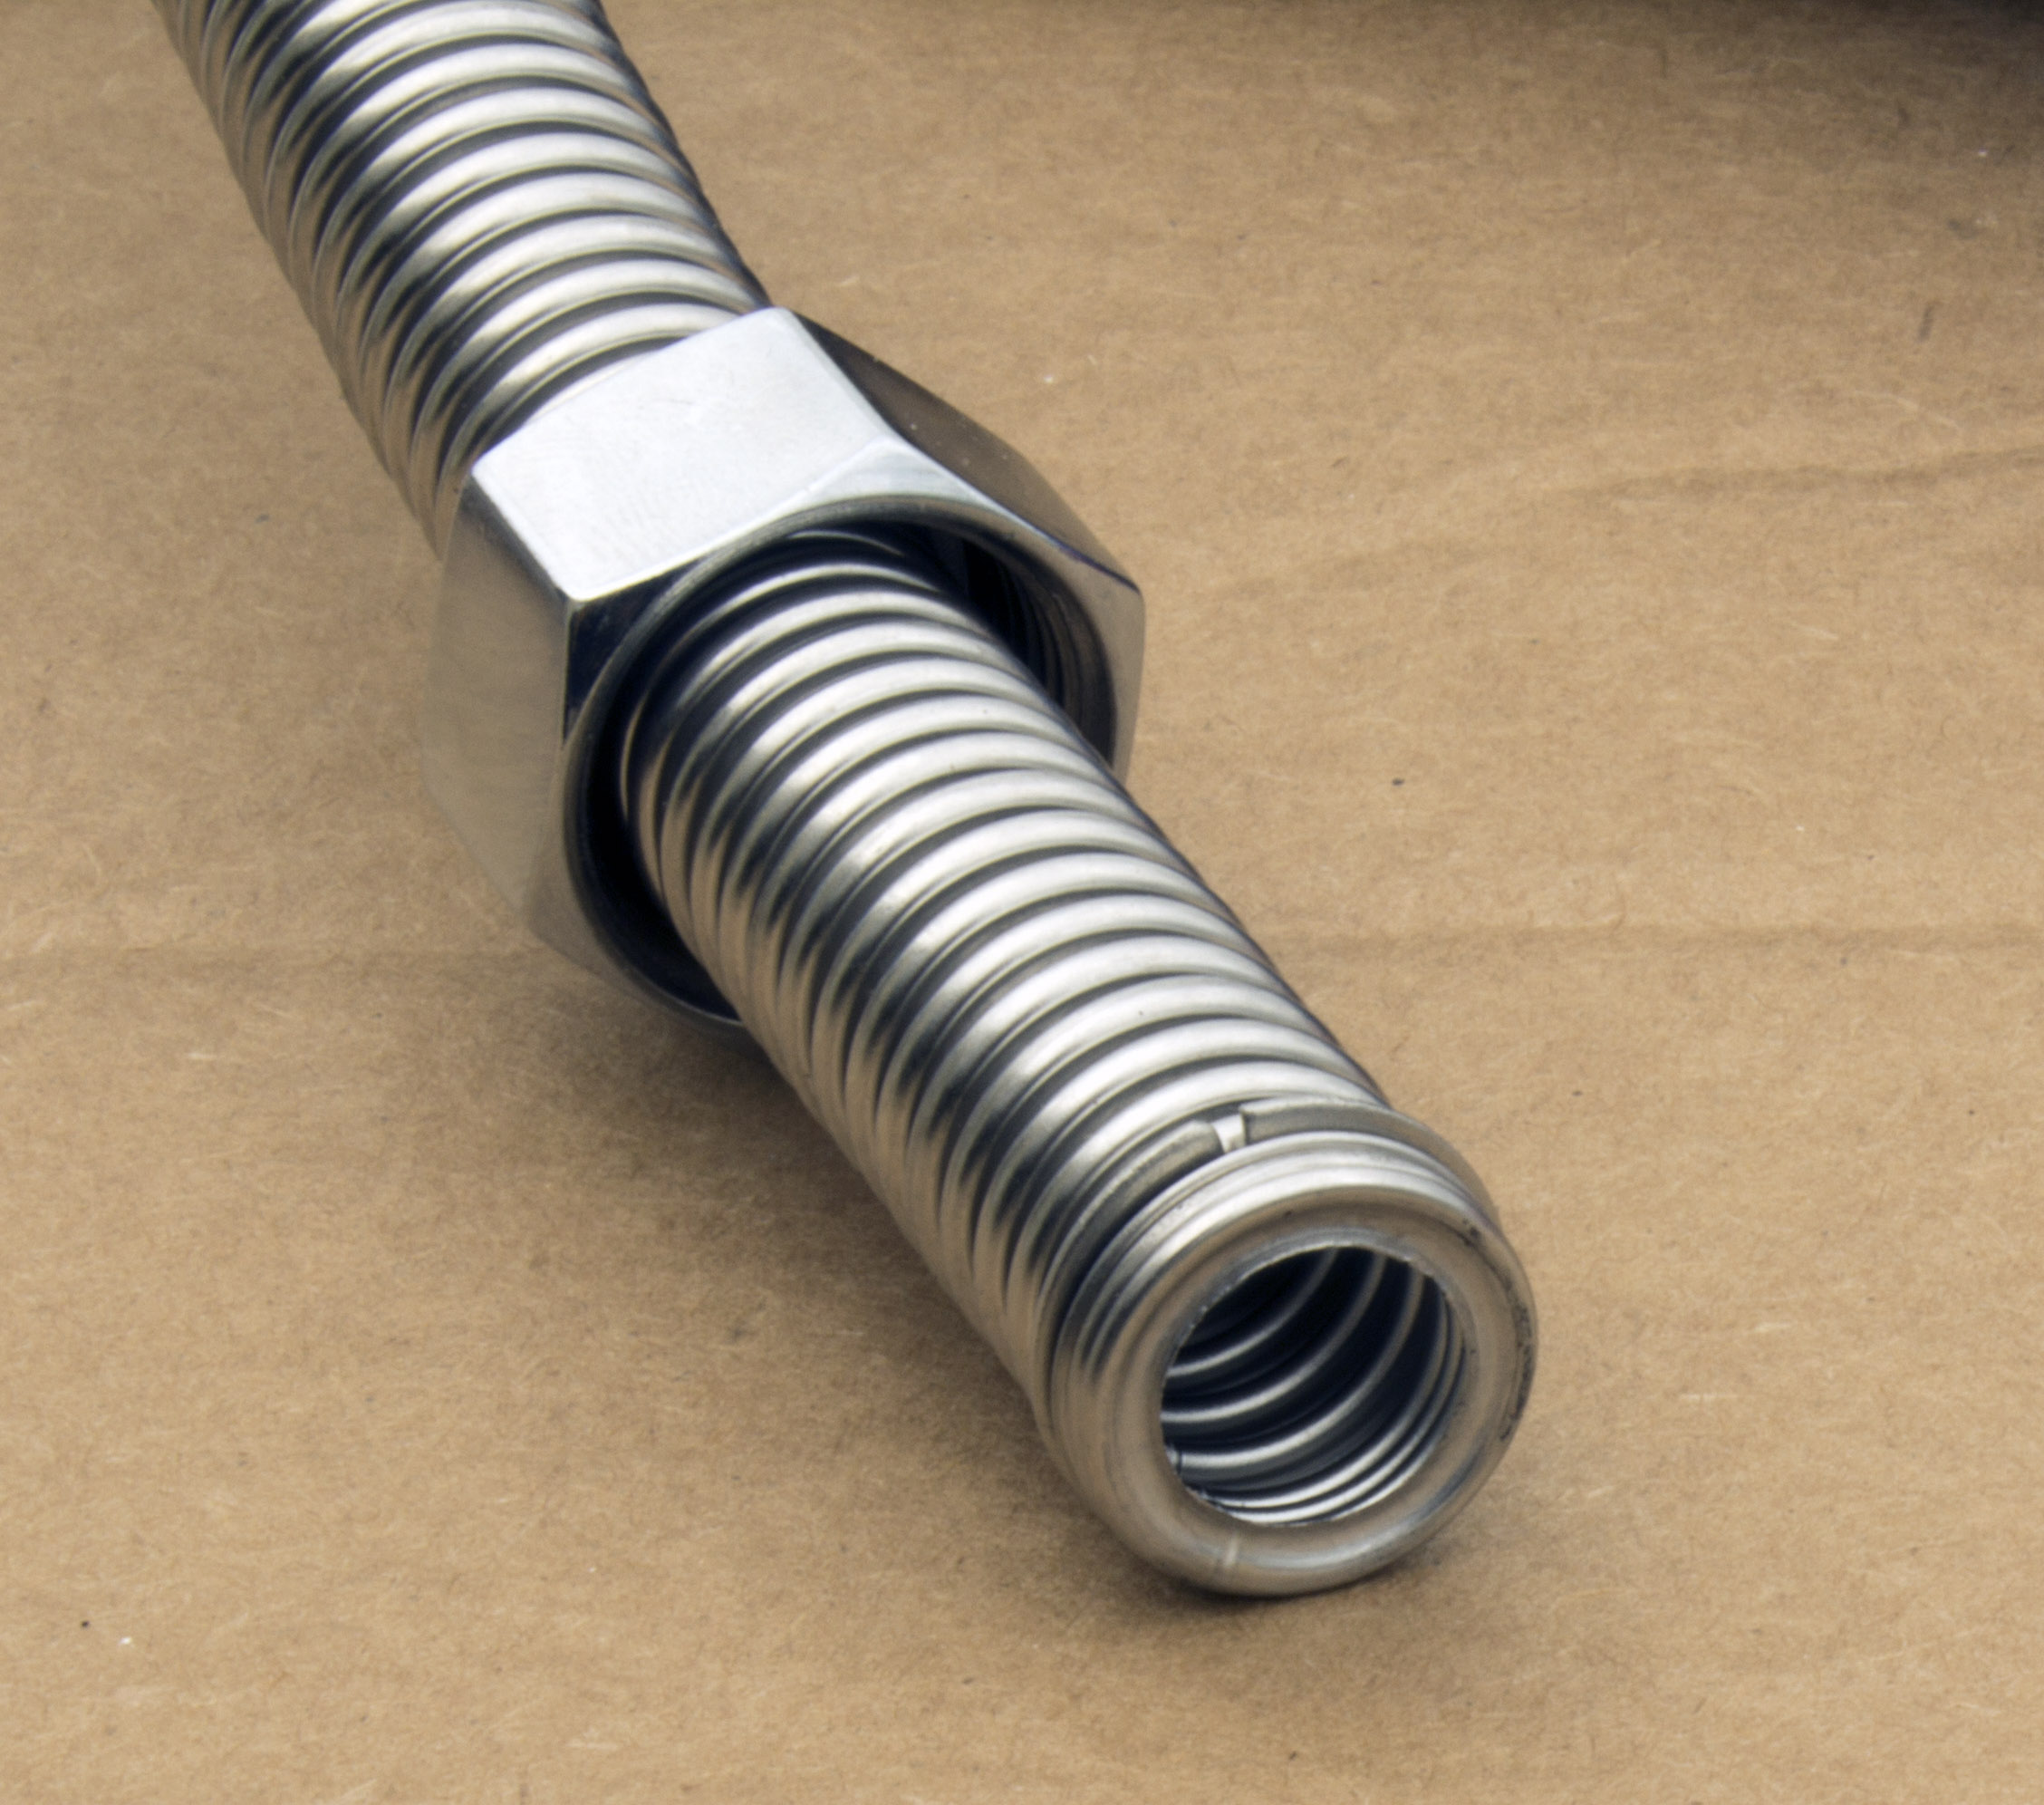
Once the ending corrugations are flattened as shown in the above photo, apply the c-ring between the last flattened corrugation and the first unflattened corrugation as shown in the above photo. Once in place, crimp the c-ring closed. This C-ring will prevent the fitting from coming off the tubing. Step 4: Pull the fitting forward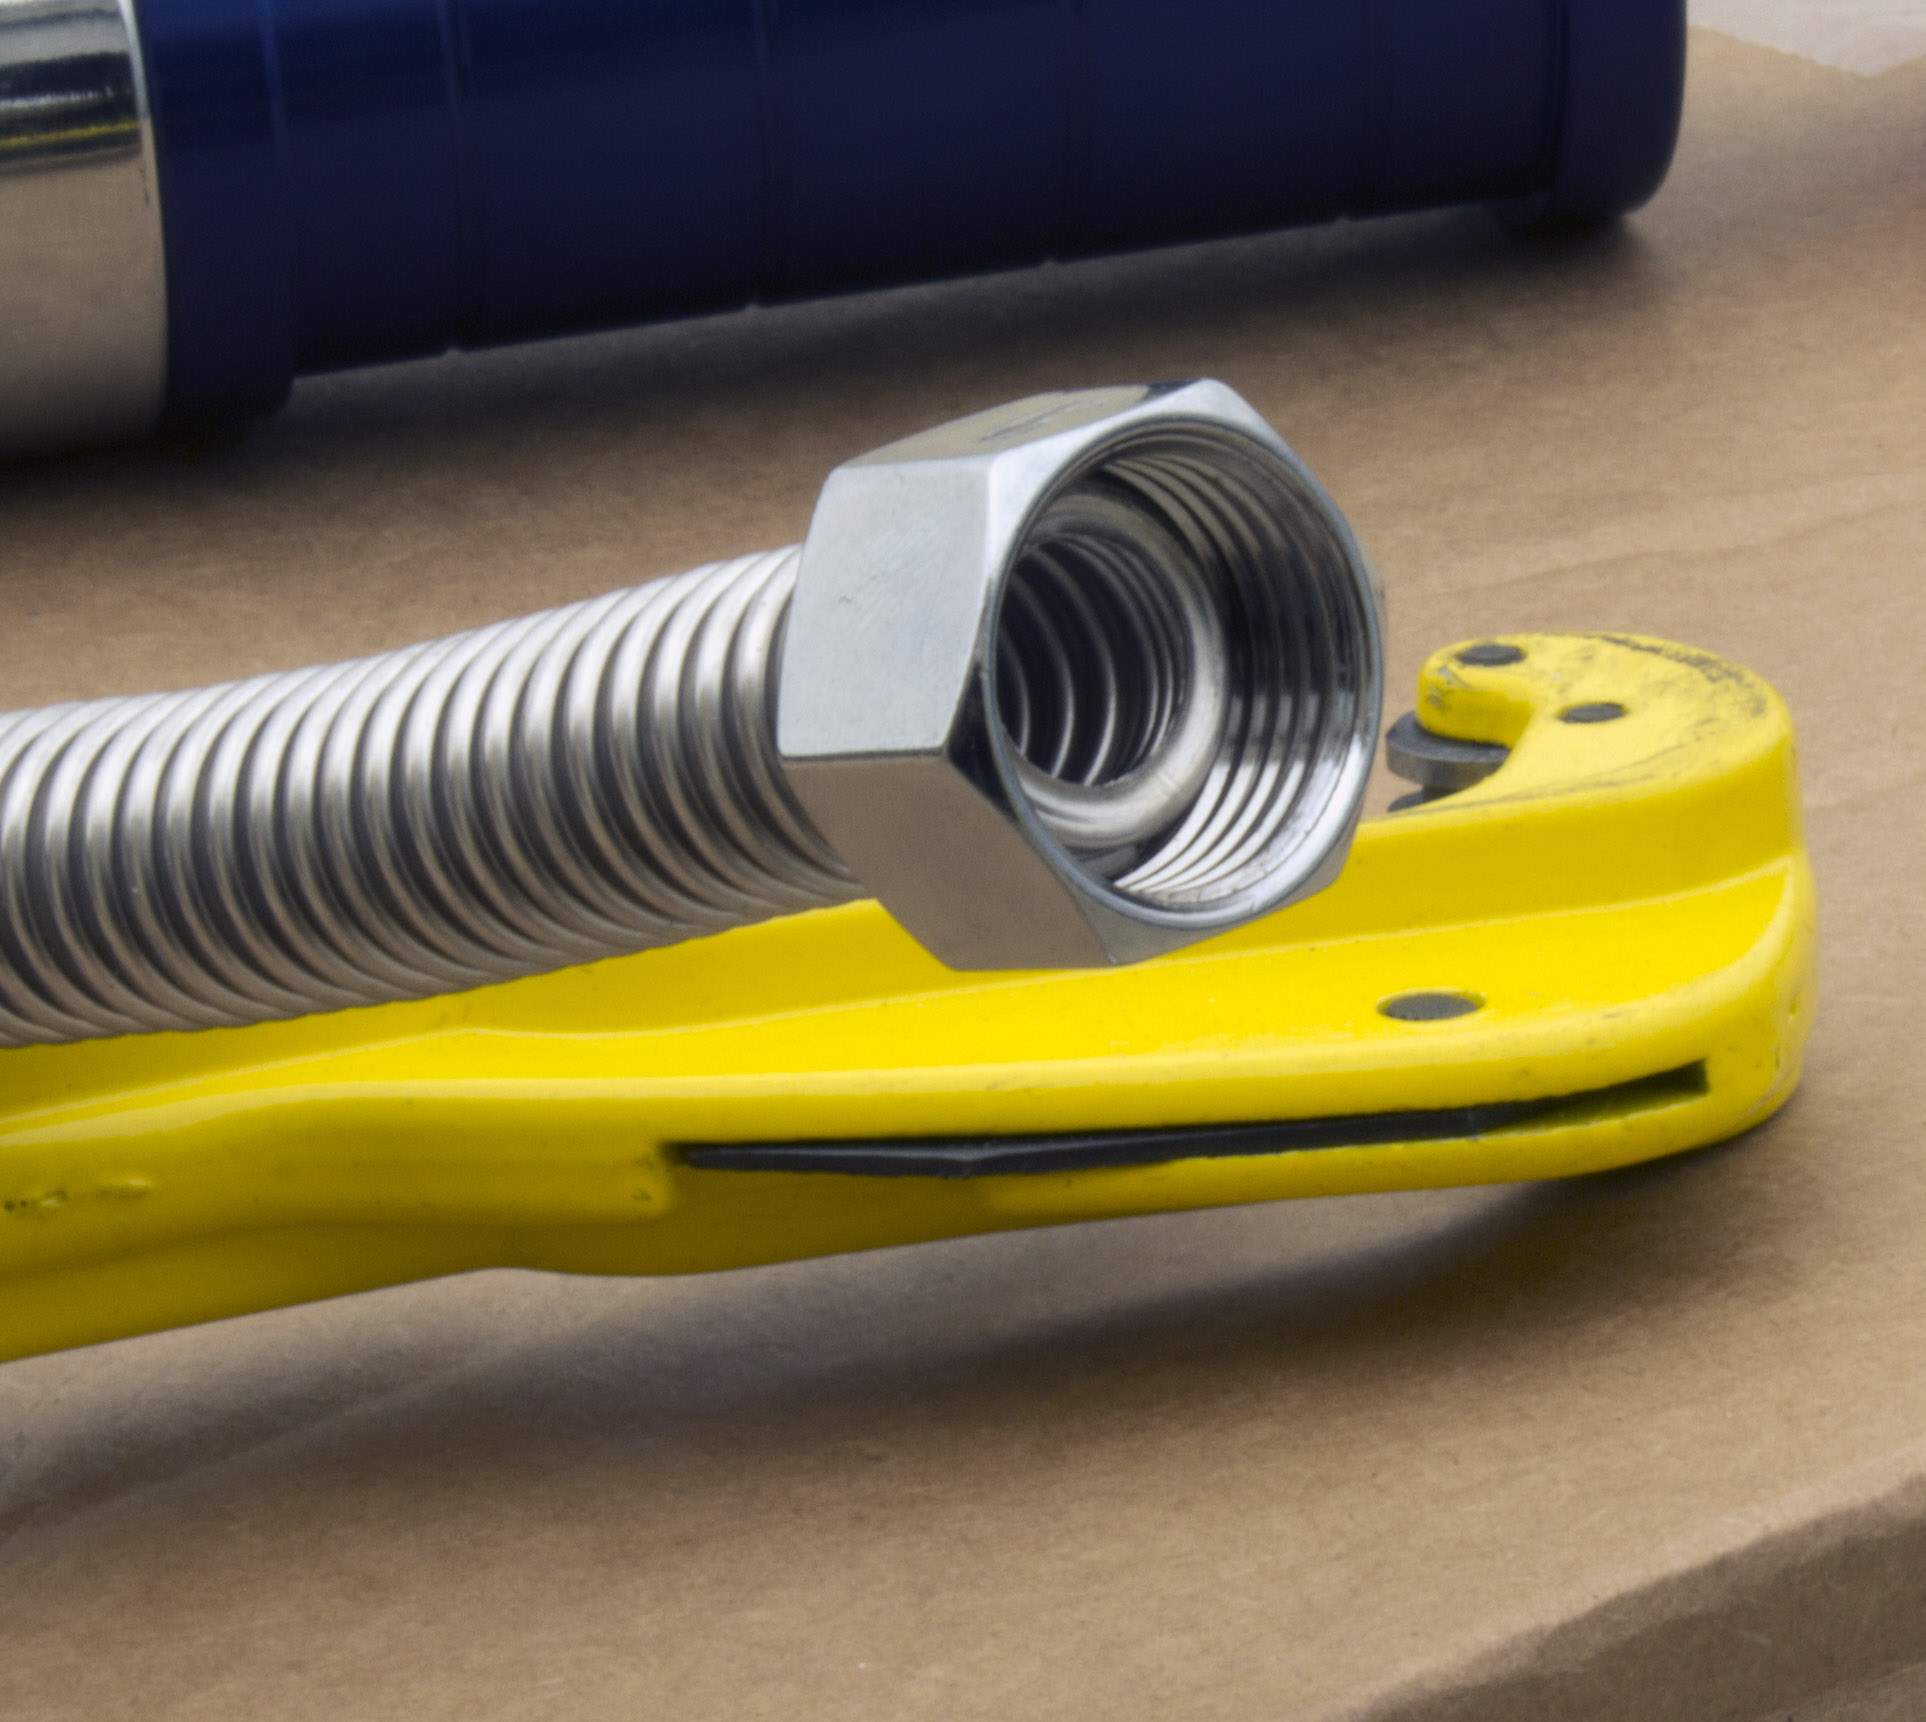
Pull the fitting forward so it is against the c-ring. You will notice that the fitting can no longer be pulled from the tubing. Step 5: Apply the washer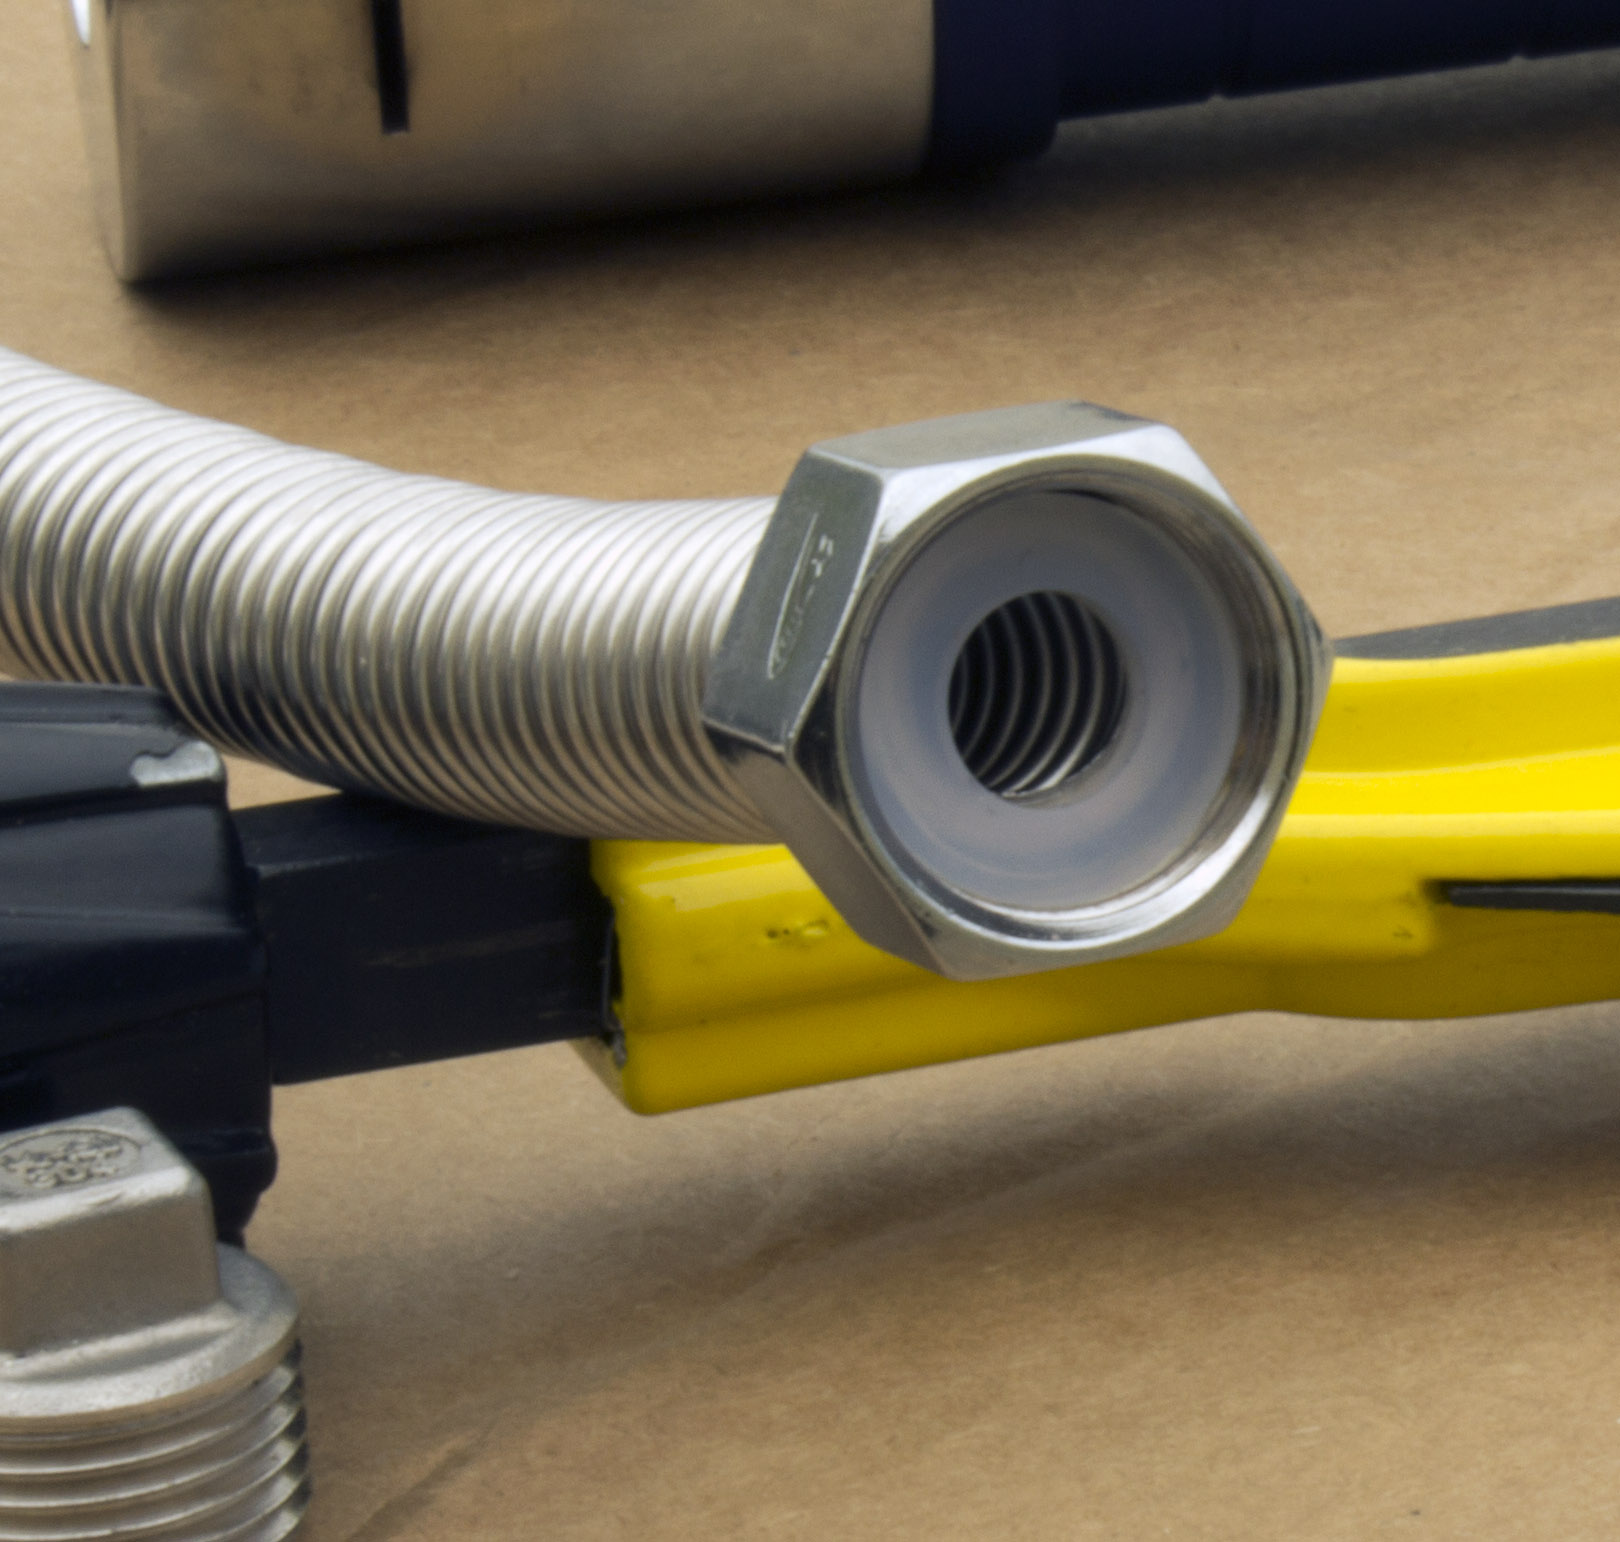
Apply the washer to the inside of the fitting. The photo shows a silicon washer which is generally acceptable for most solar installations. Step 6: Attach to your piping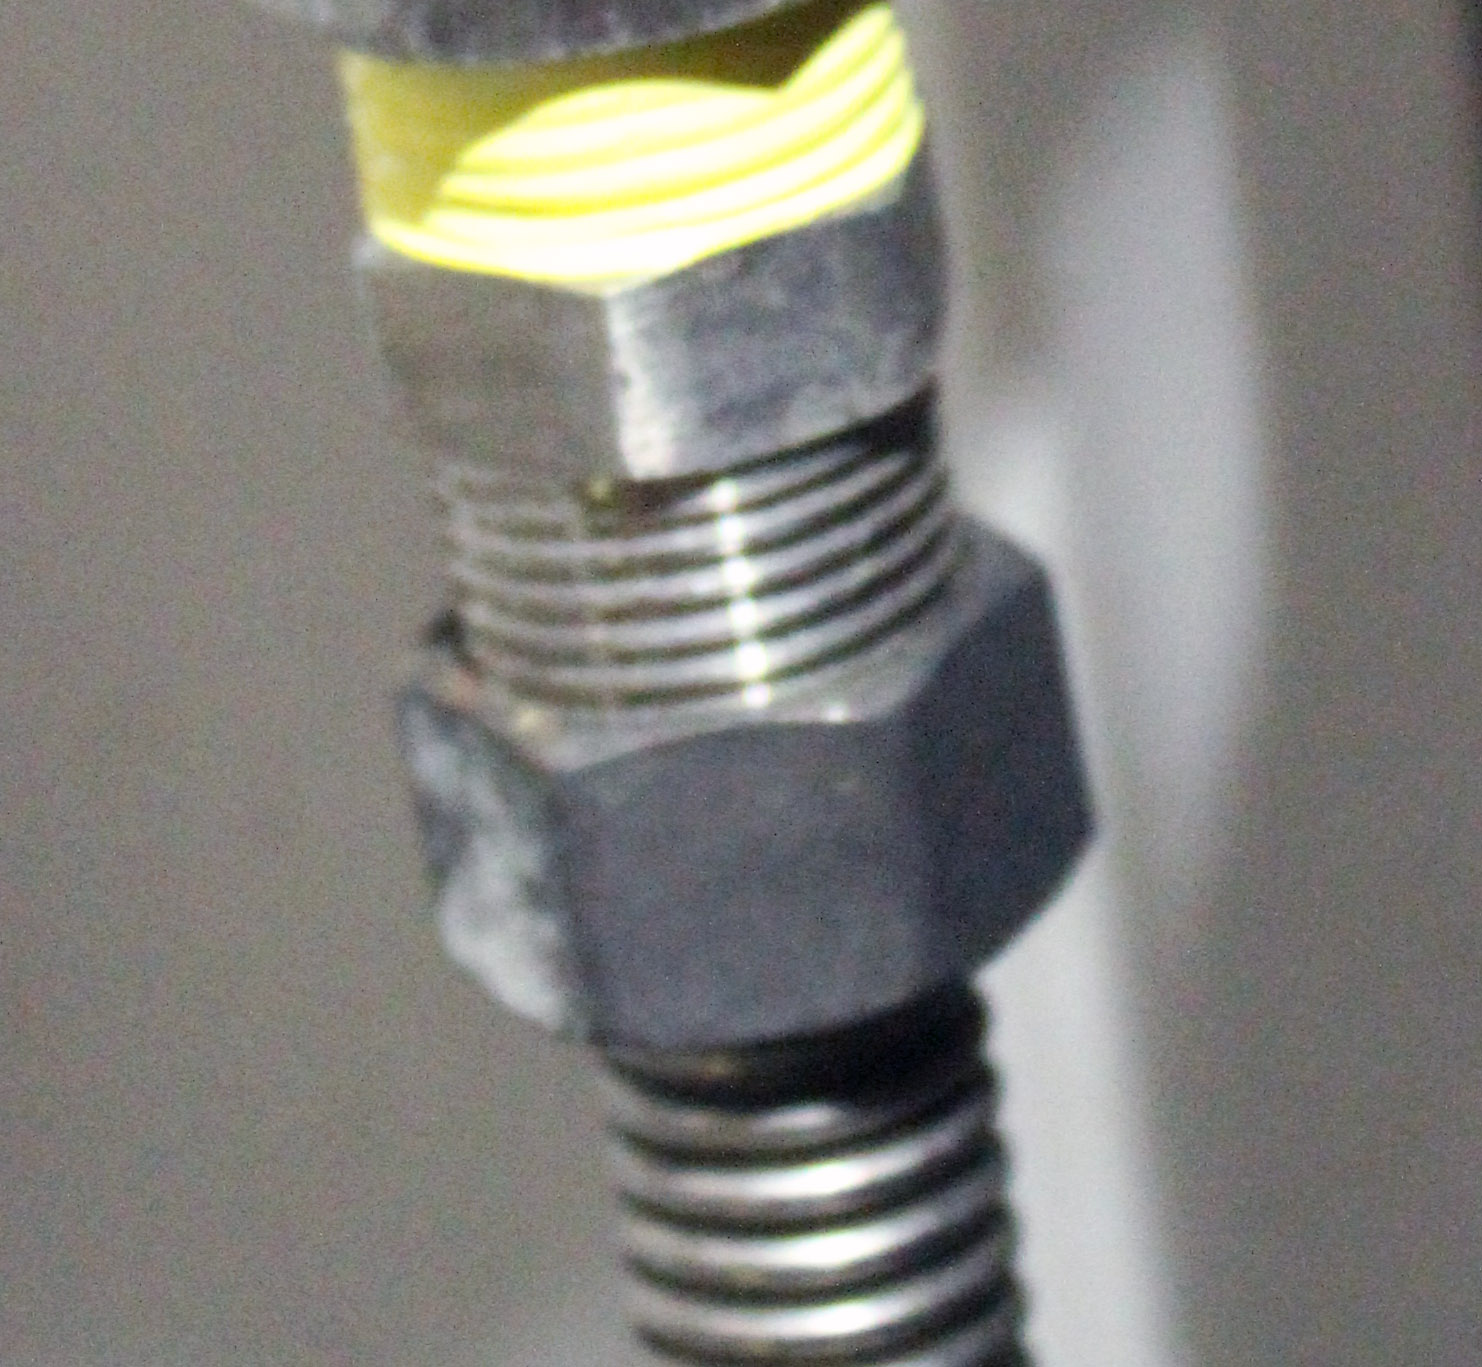
Thread the fitting end onto the pipe you are attaching to. Do not use teflon tape or any pipe dope. The seal is made by the washer. It can connect to both NPT and straight thread fittings. The washer will need to seal against the end of the fitting which the stainless tubing is attaching to in order to prevent leaks. Thread by hand until the fitting is hand tight. Once hand tight, use a wrench to turn it no more than 1/4-1/2 a turn. You should be able to bend the tubing back and forth without the back end of the fitting allowing the tubing to flex at all. When it is stiff on the back side of the fitting, it is tight enough. |
|
|
Home | Customer Login | View Cart | Check Out | Forums | Contact Us | Affiliate Program
Heat Exchangers | Pumps | Filters | All Chemicals | Fluoroelastomer Hose (Like Viton Hose) Other Chemicals | Solenoid Valves | Stainless Steel Fittings | Stainless Steel Ball Valves | Check Valves Cone Tanks | Solar Water Heaters | Propane Conversion Kits | LED Lighting Magnetic Stirrers |
|